


· By Hannah Jones
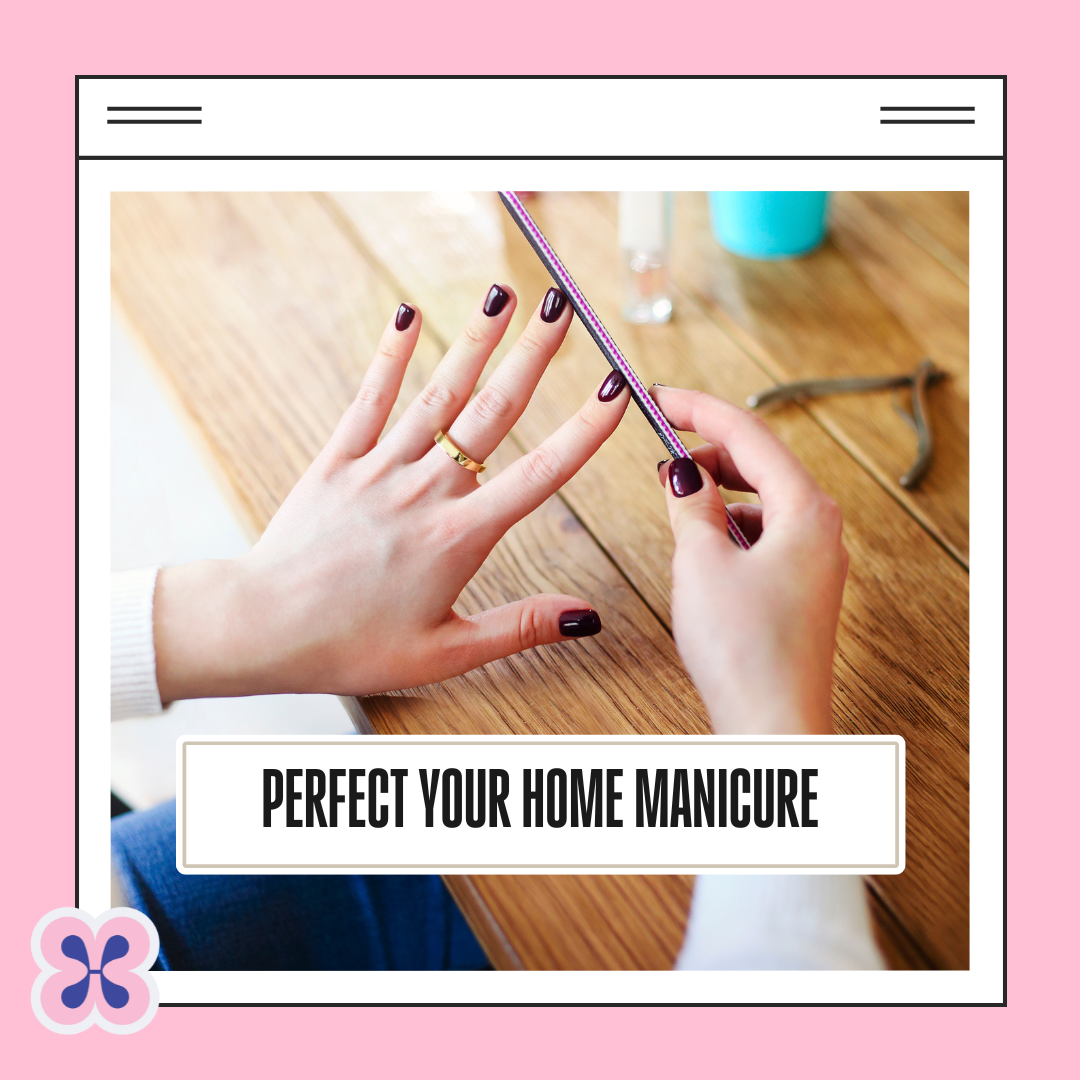
How to give yourself a perfect DIY manicure at home!
Are your nails in desperate need of some TLC but haven’t got the funds or time to visit a salon for a 1-2 hour appointment? It can so easy to give yourself that professional salon experience and quality at home for half the time and money. Many women who care for their nails at home often forget essential steps and then wonder why their nails and polish are chipping and breaking after a couple of days. Follow these simple steps for the perfect, fresh out of the salon nails:
STEP 1: REMOVE ANY OLD NAIL POLISH: Use a non-acetone nail polish remover (or even better, Hanami water-based nail polish remover that you can find here) and a cotton pad or paper towel for best results. Avoid using cotton balls, as they tend to break away and stick to the nail.
STEP 2: SHAPE AND BUFF YOUR NAILS: File your nails with a good quality emery board. Avoid using metal files as they can be abrasive and do more damage than good to your nails. Also, make sure your nails are dry for better shape control and finish with a nail buffer to smooth and polish.
STEP 3: PUSH BACK YOUR CUTICLES: Soak your nails for around 10 minutes to soften the cuticles. Apply cream or oil onto the cuticles and gently push them back using a cuticle stick with a slanted edge. Avoid cutting the cuticles as they protect the nails from harmful bacteria and keeps them soft.
STEP 4: EXFOLIATE YOUR HANDS AND NAILS: For that luxurious salon experience, give your hands some exfoliation to get rid of dead cuticle skin and soften your hands. Take this time to give yourself a little hand massage – you deserve it! Moisturize afterwards. You can choose to skip this step if you’re in a hurry.
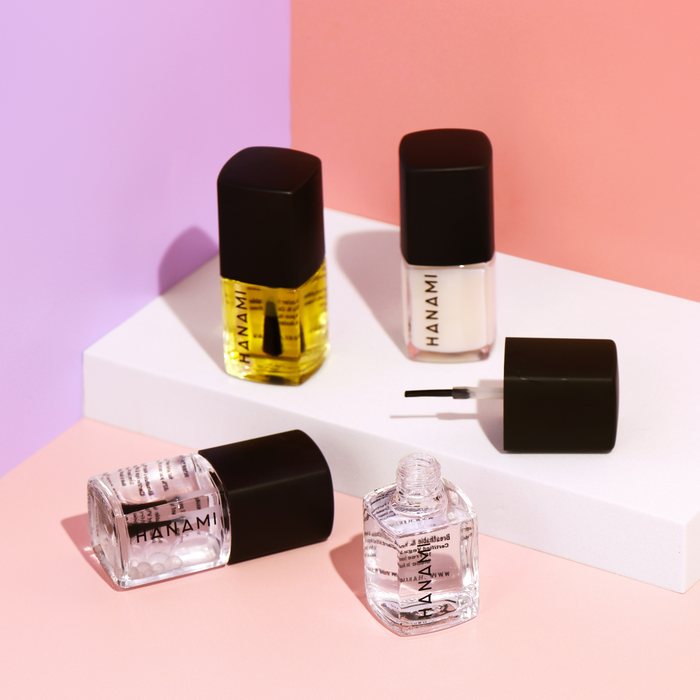
STEP 5: APPLY THE BASE COAT: This is important for giving your nail polish that strong foundation to hold onto the nail. Hanami Top & Base coat is your 2 in 1 product for this job, click here
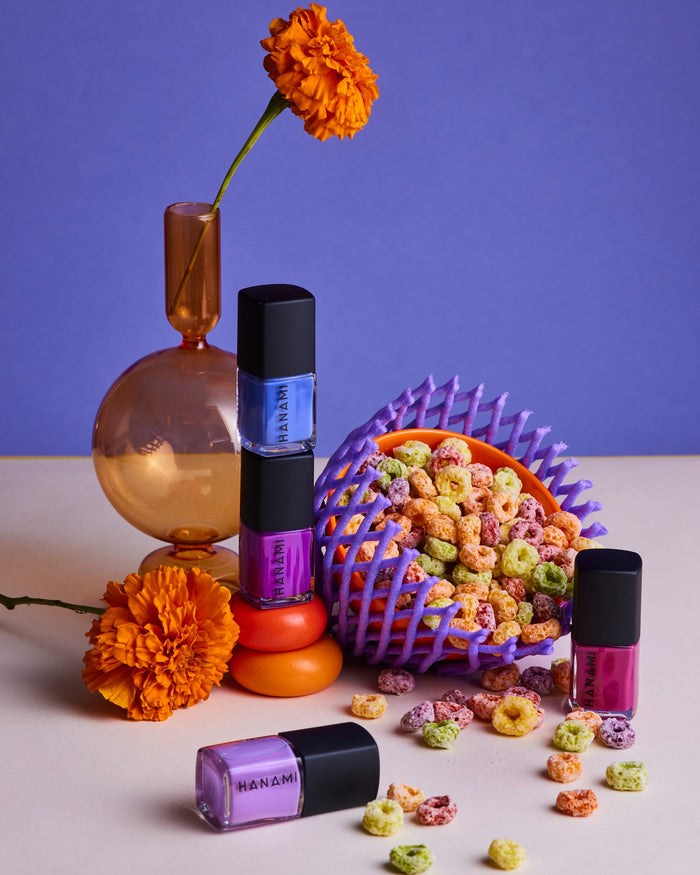
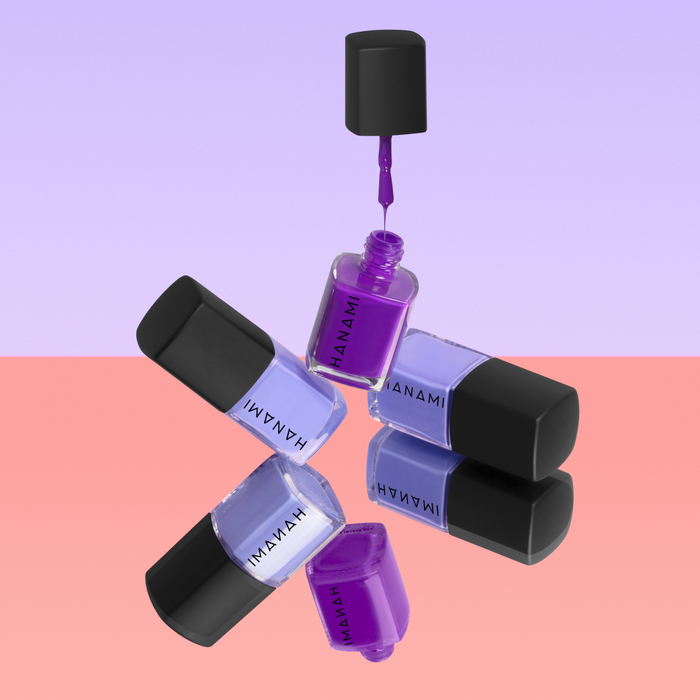
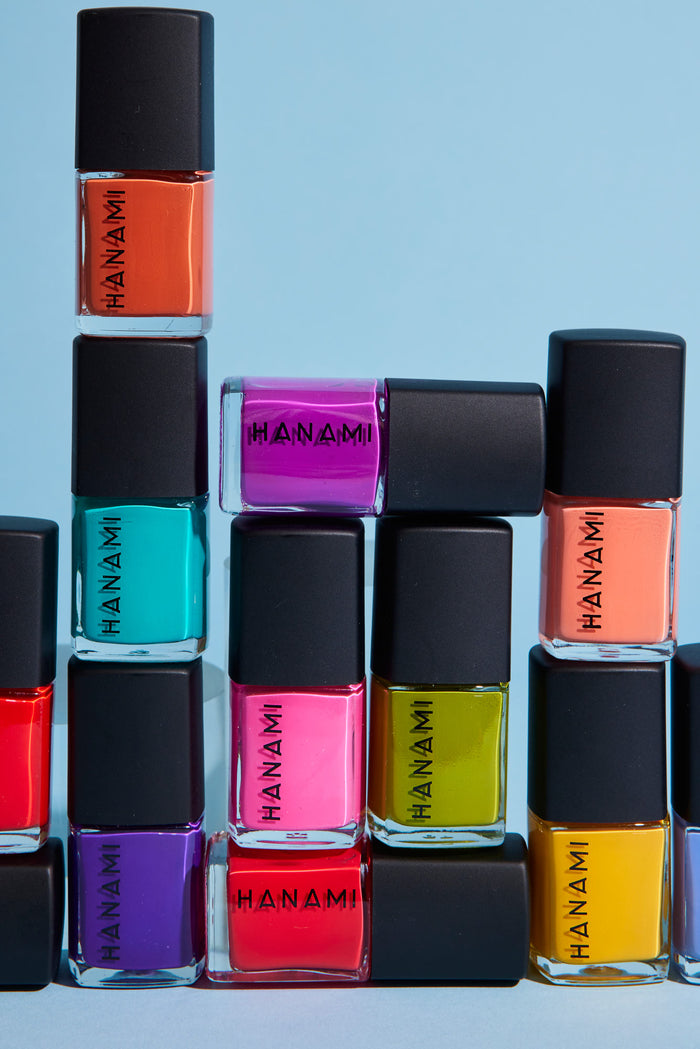
STEP 6: APPLY YOUR FAVE NAIL POLISH: The best part! Choose your favourite color of the season and apply with three strokes. Brush up the centre of the nail and then each side of the nail to maximise coverage. Wait two minutes before applying the second coat. To speed up your dry time pop your hands out in the sun (UV works wonders when drying polish!) or get out your hair dryer and blast your nails for 30 seconds or so.
STEP 7 (and maybe the most important step to remember!): APPLY YOUR TOP COAT: Wait 2-3 minutes for the polish to dry completely before applying the top coat which will keep the nail strong and prevent chips and flaking. Your mani will last for soooooo much longer when you have applied a top coat, and remember to take the brush across the very top ridge of your nail to seal the deal.
Touch up any oops moments with a cotton bud and polish remover and you’re good to go! Perfect, professional DIY nails done by you at home.
2 comments
-
I am so surprised by Bella’s comments as I have found the polishes to be brilliant and long lasting – love them.
Sandra on
-
This is exactly what I do every time I do my nails (only once every month or so). I have a few 10-free polishes and most of them last 5-7 days without chipping. Hanami polishes chip on the first day of wear… and definitely take a lot longer than 2-3 mins for a coat to dry! Maybe 10 minutes. Am I doing something wrong or are they less resilient? I also find the brushes way too small… I got the Voyager mini set. Love the colours but the quality of my manicure bothers me 💅🏻 😔
Bella on